Monitoring USB Communications with USBMon
When working with USB devices, it's often helpful to have insight into the data that's being exchanged between the host and the device. There are several methods to inspect USB communciations as they occur:
- A USB protocol analyzer is an expensive piece of equipment, but is the most flexible way of capturing USB communications.
- USBProxy-Nouveau provides a simple ability to analyze the USB data being proxied. Use of USBProxy will be covered in the training course.
- Software analyzers can be used on most operating systems. These analyzers are limited, and require control over the target-- but they're low cost and convenient.
In this training course, we'll use the Linux usbmon analyzer to capture traffic between your host computer and a target USB Device. As a software-only solution, usbmon is an excellent zero-cost starting point.
Setting up USBMon
USBMon performs its monitoring from inside of a Linux kernel module, which has full access to all USB packets processed by the system. Accordingly, we'll need to load the module before we can use it:
sudo modprobe usbmon
Starting WireShark
The easiet wasy to view USBMon output is with Wireshark, a common suite used for protocol analysis. While it's not as full-featured as other USB analyzers, it has the significant benefit of being free.
To run wireshark, run the following command:
wireshark
Viewing USBMon Output with Wireshark
Once Wireshark has started, you'll be asked to select the interfaces you want to listen on. Each USB interface begins with usbmon and ends with a number:
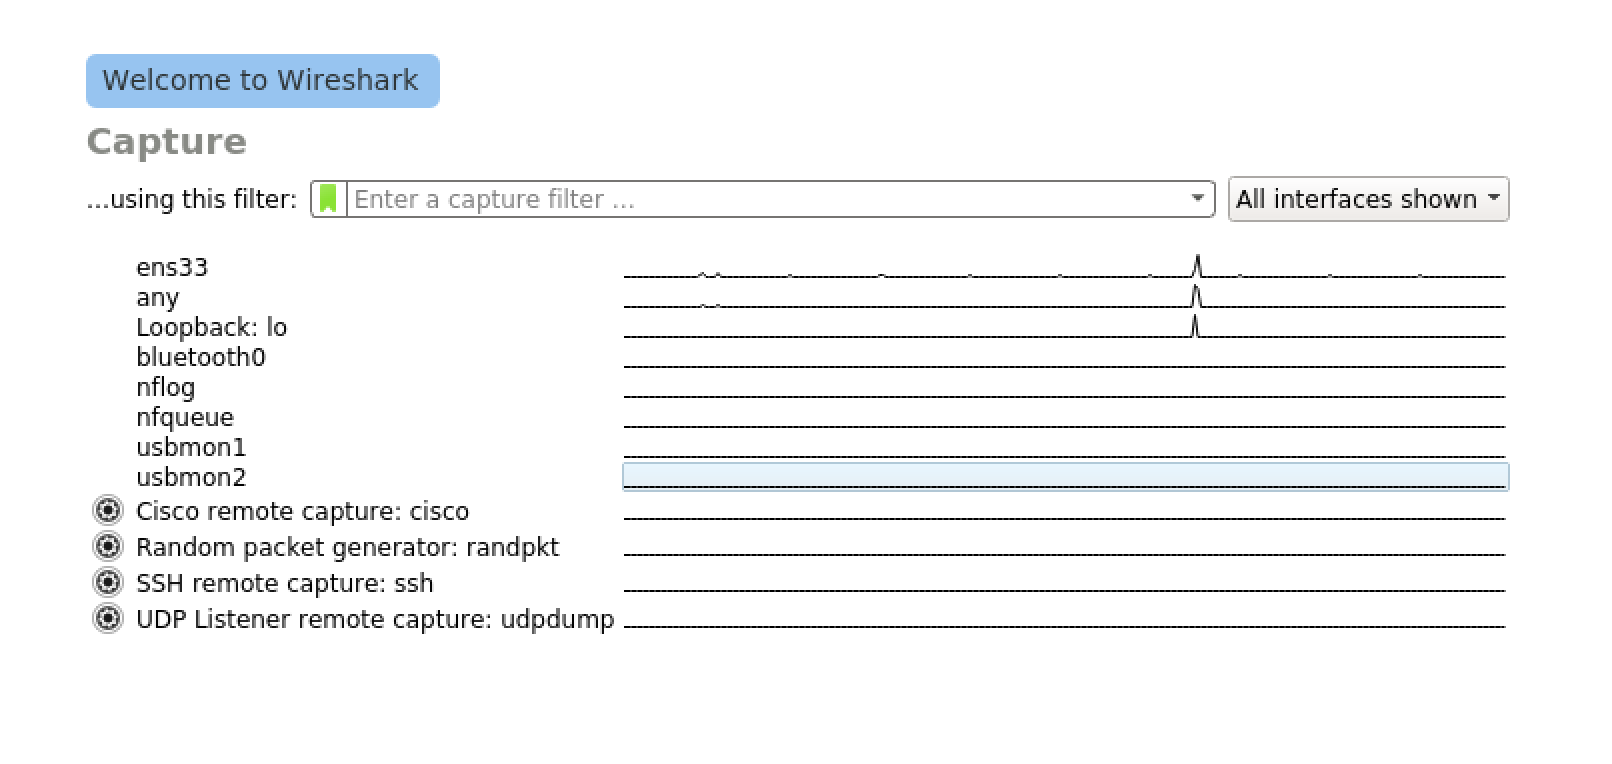
Each interface corresponds to a different USB bus on your computer. We don't necessarily know where our device will wind up connected, so for now, we'll select all of them:
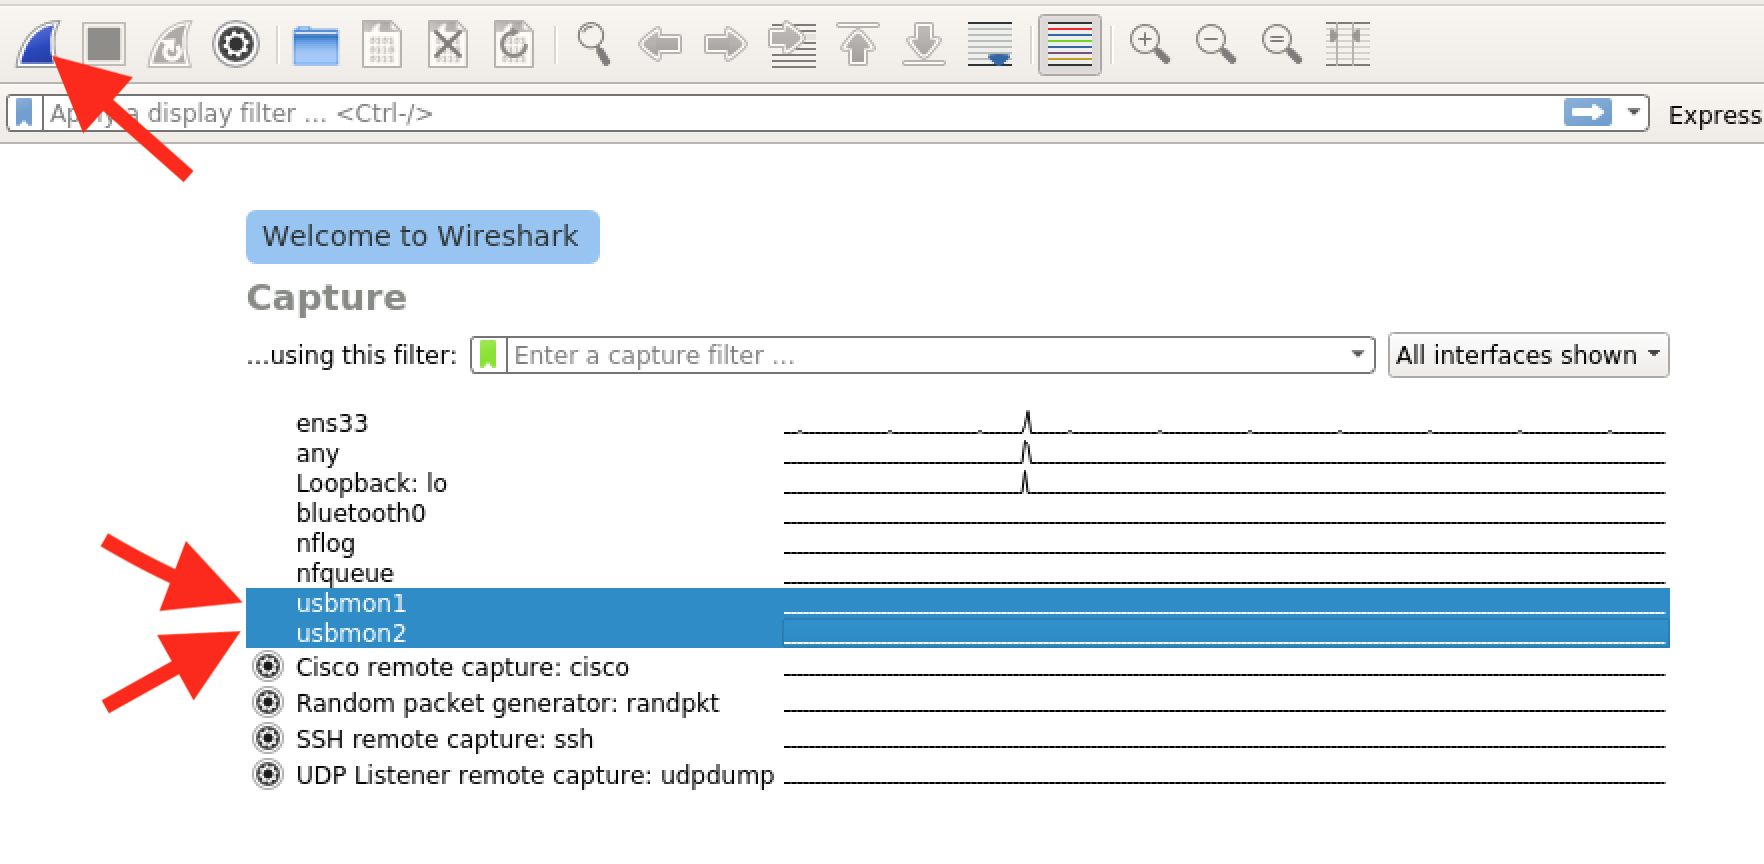
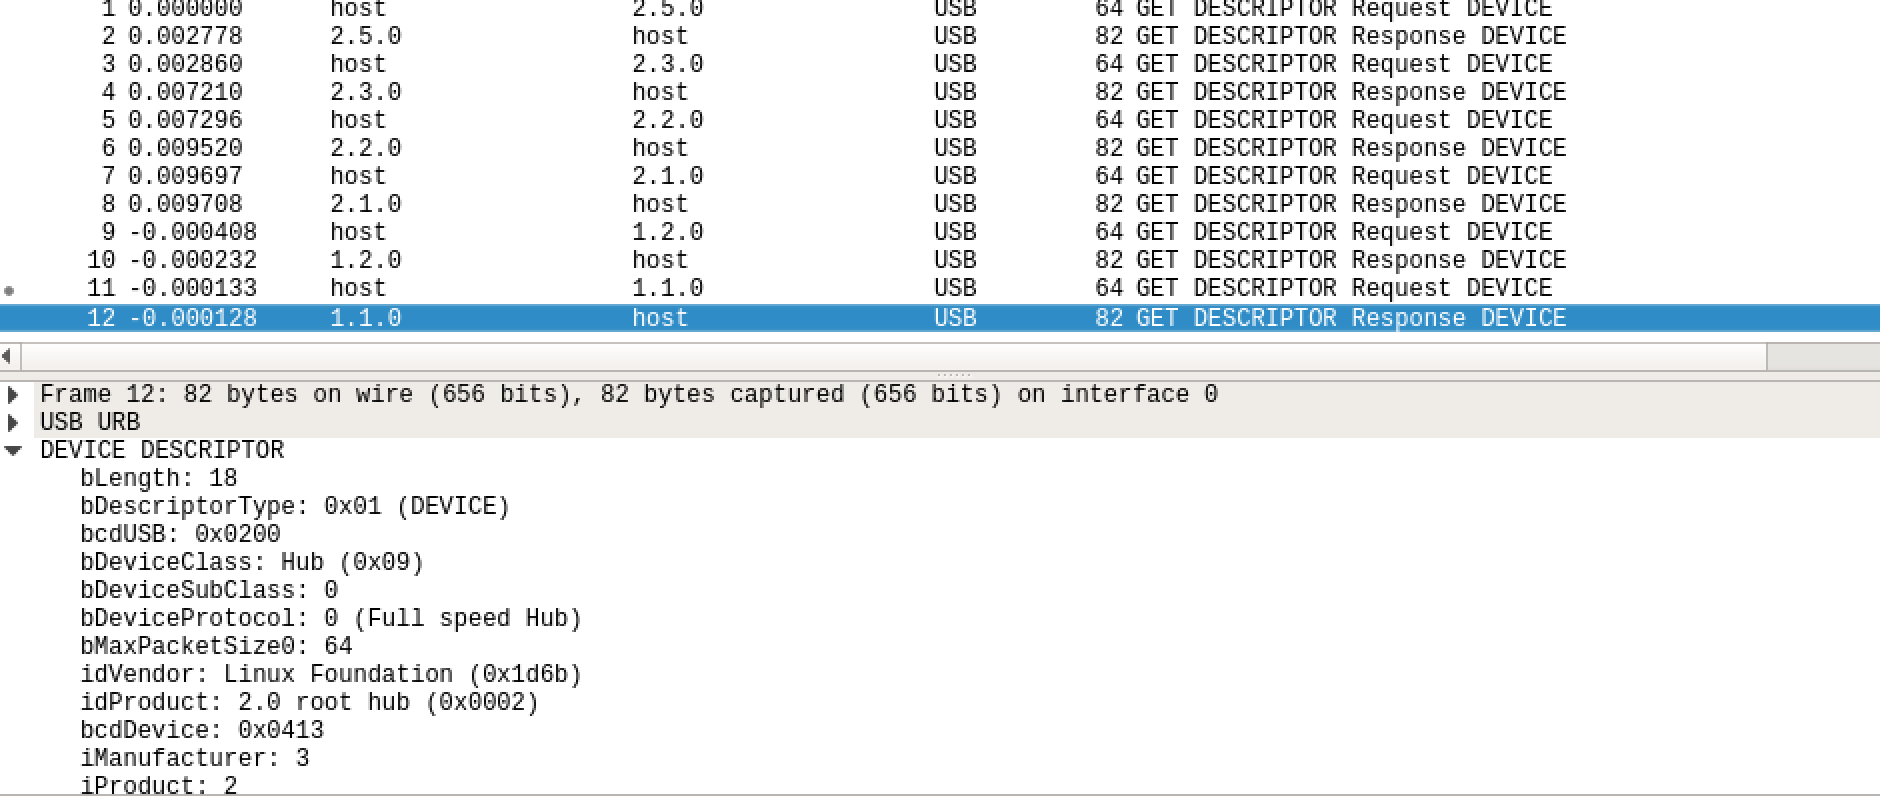
Once you've selected all of the interfaces, click on the blue "start" fin to begin capture. Attach a new USB device-- you should see USB packets being to fill the view!
'Advanced': Filtering our Captures
If this winds up being too much, you can filter down to a specific USB bus, or device. First, let's figure out which usbmon bus our relevant device is communicating on. One strategy is to observe the Wireshark output while plugging and unplugging the device-- and observing the first number in the Source and Destination fields for entries associated with the device. Another strategy is to ask the system to report how all USB devices are connected:
lsusb -t
Look for the Bus field of the entry associated with the device you'd like to monitor. If you're not sure which entry corresopnds to the device you're working with, try unplugging it and comparing the output before and after the device is removed.
Once we know the relevant bus, we can re-start our capture, focusing only on the usbmon instance that corresponds to our device. For example, if we saw that the device was on bus 2, we'd capture using usbmon2.
Filtering our Display
We can further limit the scope of what we're looking for using Wireshark display filters. If we want to limit our scope to show only USB packets with a Source or Destination string of 2.3.1, we might enter the following quick display filter at the top of our wireshark windows:
usb.addr==2.3.1
It's important to note that this is Wireshark's concept of an address, and not the USB device's address! To filter for a specific USB device address, we can use the usb.address filter -- not the subte difference. As an example, to get only a device with a USb address of 2:
usb.address==2
A full list of available filters is available in the Wireshark documentation. Some useful ones:
usb.address=<address>(orusb.device_address=<address>)usb.bus_id=<bus>usb.xferstatus.control_xfr==<1 for only control transfers, 0 to exclude control transfers>usb.bDescriptorType=<usb desrciprtor type to find>
Some genereal tips for using filters to make USB packets easier to follow are hidden in this Wireshark user question. We'll learn more about what these mean as the course continues.
Note for Other Linux Images
You'll need to start Wireshark from an account that has USB privileges. The training live USB comes with these permissions set up; as do the course Docker and Vagrant images.
If you're running the software outside of the course live image, you may need to add your user to the wireshark group in order to avoid having to capture as root:
gpasswd -a ubuntu wireshark
You may also need to adjust the permissions with which usbmon instances are created:
# Assuming your user is in the group "plugdev":
echo 'SUBSYSTEM=="usbmon", GROUP="plugdev", MODE="640"' | sudo tee /etc/udev/rules.d/50-accessible-usbmon.rules
sudo udevadm control --reload-rules
sudo udevadm trigger